


How to Install LED Strip Lights at Home (Step-by-Step Guide)
If you’ve recently purchased LED strip lights from an online LED store, you’re probably excited to upgrade your home lighting without spending a fortune on professional installation. The good news is that installing LED strip lights is a simple DIY project that anyone can do with basic tools and a little guidance. Whether you want to enhance your bedroom, living room, kitchen, or workspace, LED strip lights offer flexibility, energy efficiency, and a modern aesthetic. This step-by-step guide will walk you through everything you need to know, from planning and preparation to installation and troubleshooting, so you can achieve a clean and professional-looking result at home.
What Are LED Strip Lights and Why Choose Them
LED strip lights are flexible circuit boards embedded with light-emitting diodes that can be mounted almost anywhere. They are popular because they are easy to install, consume less electricity, and come in various colors and brightness levels. Many strips include adhesive backing, making them perfect for DIY installations. They are ideal for accent lighting, under-cabinet lighting, cove lighting, and even outdoor decoration when waterproof options are used.
Tools and Materials You Will Need
Before starting your installation, gather all the necessary tools and materials. You will need LED strip lights, a compatible power supply, connectors (if required), scissors for cutting the strips, a measuring tape, cleaning cloth, and optionally mounting clips for extra support. If you are installing longer runs or connecting multiple strips, you may also need extension wires and a controller for dimming or color changes.
Step 1: Plan Your Layout
Start by deciding where you want to install the LED strip lights. Measure the area carefully to determine how much strip length you need. Popular locations include under cabinets, behind TVs, along ceilings, and under beds. Make sure there is a nearby power outlet or plan for how you will route the power supply. Planning ahead ensures a smooth installation and avoids unnecessary cutting or repositioning later.
Step 2: Choose the Right LED Strip Type
Not all LED strip lights are the same. Choose based on brightness (lumens), color temperature (warm white, cool white, or RGB), and waterproof rating if needed. For indoor decorative lighting, standard strips work well, while kitchens and bathrooms may require water-resistant options. If you want smart control, select strips compatible with apps or voice assistants.
Step 3: Prepare the Surface
Clean the surface where you plan to stick the LED strips. Dust, grease, or moisture can reduce the adhesive strength and cause the strips to fall off over time. Use a dry or slightly damp cloth to wipe the surface and let it dry completely before proceeding.
Step 4: Measure and Cut the LED Strip
Most LED strips can be cut to size at designated cut marks, usually indicated by a line or scissor icon. Measure the required length carefully and cut only along these marks to avoid damaging the circuit. Cutting incorrectly can cause sections of the strip to stop working.
Step 5: Test the Lights Before Installation
Before sticking the strip permanently, connect it to the power supply and test it. This step ensures that the strip is functioning properly and helps you identify any defects early. It is much easier to replace or fix issues before installation than after everything is mounted.
Step 6: Attach the LED Strip Lights
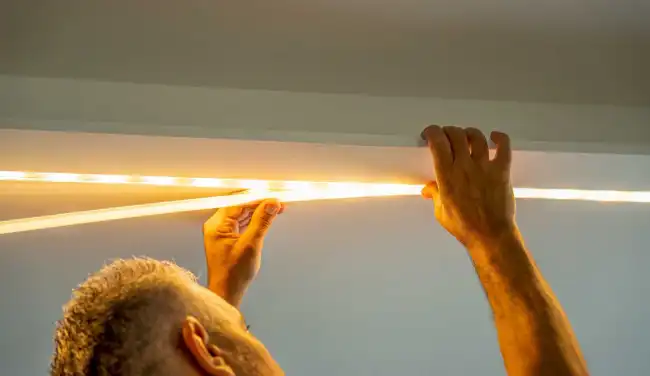
Peel off the adhesive backing and press the strip firmly onto the surface. Start from one end and move gradually to avoid misalignment. Apply gentle pressure along the entire strip to ensure it sticks properly. For uneven or rough surfaces, use mounting clips or additional adhesive for better support.
Step 7: Connect to Power Supply
Connect the LED strip to the power adapter according to the manufacturer’s instructions. Ensure the voltage matches the strip requirements to prevent damage. If your setup includes a controller for dimming or color changes, connect it between the strip and the power supply.
Step 8: Manage Wires and Finishing Touches
Organize the wires neatly to maintain a clean look. You can use cable clips or conceal wires behind furniture or walls. Once everything is connected and secured, turn on the lights and check for uniform brightness and proper functioning.
Common Mistakes to Avoid
One of the most common mistakes is not cleaning the surface before installation, which leads to poor adhesion. Another issue is cutting the strip at the wrong point, which can damage the circuit. Using an incompatible power supply can also cause flickering or failure. Always double-check measurements and specifications before proceeding.
Troubleshooting Tips
If your LED strip lights do not turn on, check the power connection and ensure the adapter is working. If sections of the strip are not lighting up, inspect for damage or incorrect cutting. Flickering lights may indicate a voltage issue or loose connection. Addressing these problems early helps maintain the longevity of your lighting setup.
Benefits of Installing LED Strip Lights at Home
Installing LED strip lights enhances the ambiance of your home while being energy-efficient and cost-effective. They are versatile and can be customized to suit any interior style. With a simple installation process, they offer a quick way to modernize your space without major renovations.
Conclusion
Installing LED strip lights at home is a straightforward and rewarding DIY project that can transform your living space instantly. By following the right steps and avoiding common mistakes, you can achieve professional-looking results with minimal effort. Whether you are upgrading your home décor or improving functionality, LED strip lights are a smart and stylish choice that delivers both performance and visual appeal.
